Plugins
PyBpod GUI can be enhanced with plugins. This way you can easily adapt the GUI for your needs.
You can use plugins for:
extending or overwriting basic PyBpod functionalities
creating new visualization tools for PyBpod sessions (e.g., plots, message filters)
adding new windows, tools or any other GUI-related functionality
For detailed information on how to develop plugins please see Developing PyBpod GUI plugins.
How to install plugins
Installing plugins only takes 3 steps.
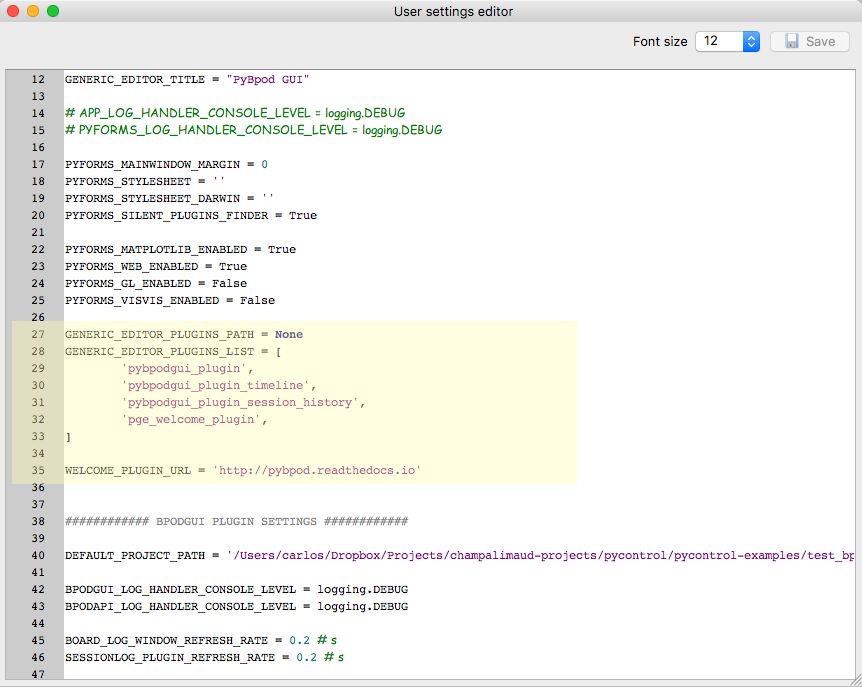
First, you will need to edit your user settings. On the top menu, go to Options > Edit user settings. Then, locate the following labels:
GENERIC_EDITOR_PLUGINS_PATH-> this variable expects a string value which should correspond to a filesystem folder path where your plugins are located
GENERIC_EDITOR_PLUGINS_LIST-> this variable expects a list of strings which are the names of the plugins to be loaded when the GUI starts up
Warning
If you are using Windows OS, you must use double slash for paths. Example: GENERIC_EDITOR_PLUGINS_PATH = ‘C:\\Users\\YOUR_NAME\\bpod_plugins’.
Second, download the plugin folder you want and place it on the “plugins” folder you have just indicated before.
Finally, restart the GUI. Depending on the kind of plugin, you will see a new option on the top menu or by right-clicking a node in the project tree.
Note
If you are developing plugins and you already installed them with PIP, you may leave the GENERIC_EDITOR_PLUGINS_PATH = None because they will be already on the Python path.
Examples of available plugins
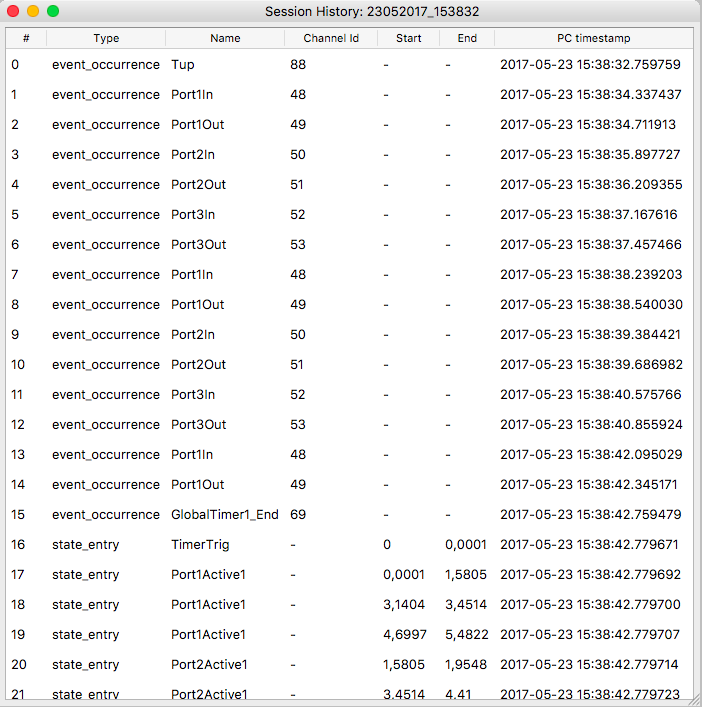
Session history
This plugin allows you to display session data in a table view and you can order events by column.
https://bitbucket.org/fchampalimaud/pybpod-gui-plugin-session-history
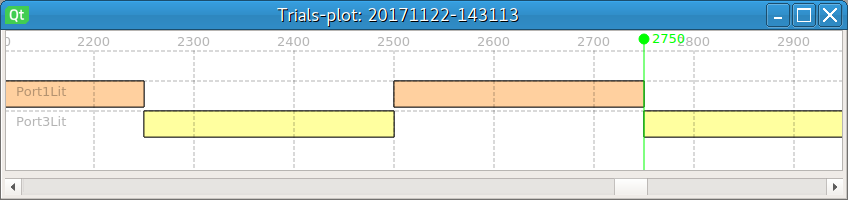
Session timeline
This plugin displays trial states in a bar plot.
https://bitbucket.org/fchampalimaud/pybpod-gui-plugin-timeline