Basic usage
Projects
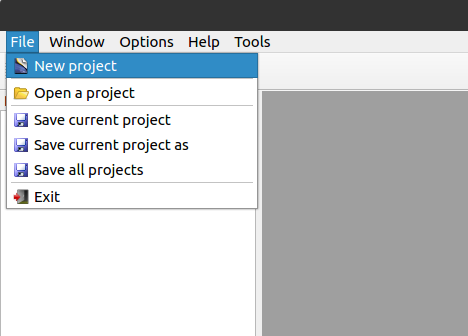
When you open PyBpod for the first time, you can create a new project or load a previous project from your filesystem.
With PyBpod you can easily organize your work. Projects allow you to aggregate several experiments in one place.
Note
You can open several projects at the same time to compare data.
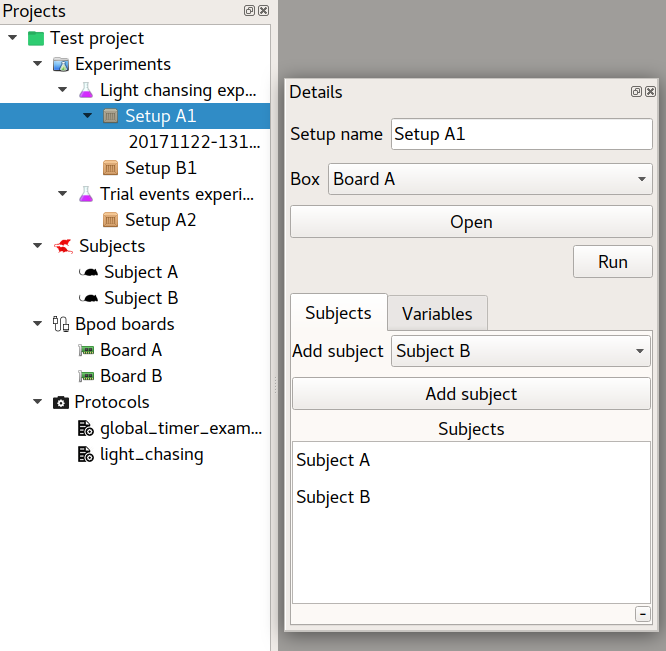
Each project has a set of experiments, subjects, boards, protocols and users as it is possible to see from the example in the next figure.
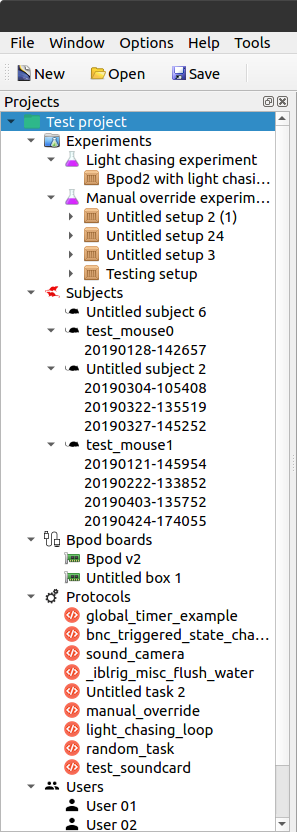
An experiment can have one or more Setups. Each Setup mostly defines an association between a Board and a Protocol. It is also possible to associate one or more subjects as well as variable definitions for that particular Setup.
When running a particular Setup, the Session data will appear under it in the project tree as well as under the subjects that were part of that Session.
Bpod boards
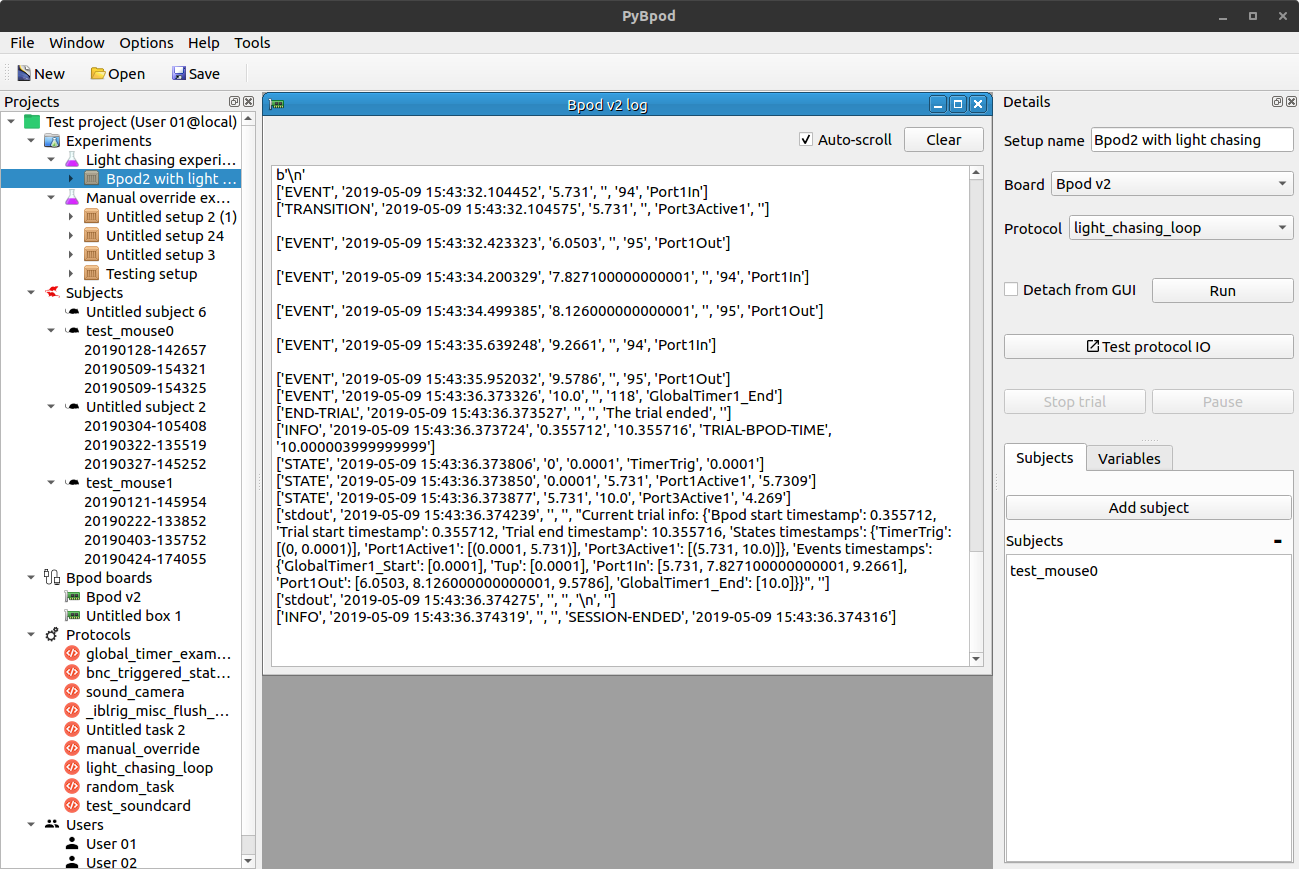
PyBpod GUI supports multiple Bpod boards to be run in parallel. Just add a new board, select serial port, run your experiment and open the console window.
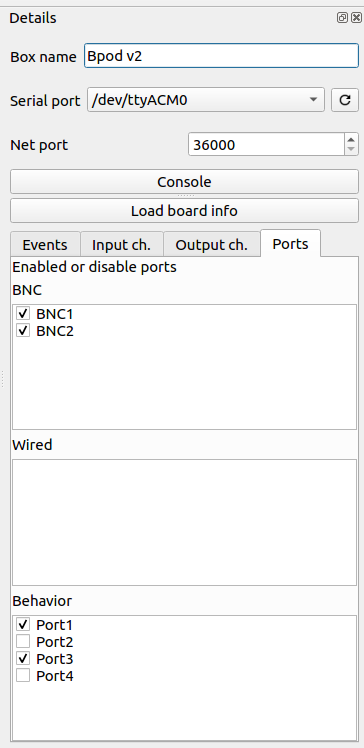
The console window allows you to see real time output from the Bpod.
Note
On the Board details window you can activate or deactivate ports by checking or unchecking them in the ports list.
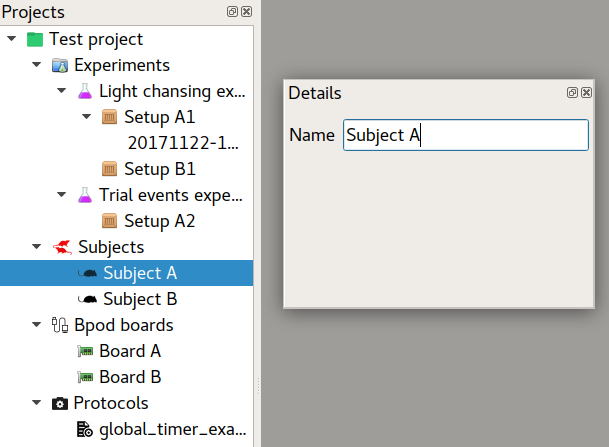
Subjects
The subjects allow you to manage the animals for your experiments. By keeping the list of animals updated you will have better control of your experiments. PyBpod allows you to know in which Sessions each subject participated and you can see details for each Session within PyBpod.
Protocols
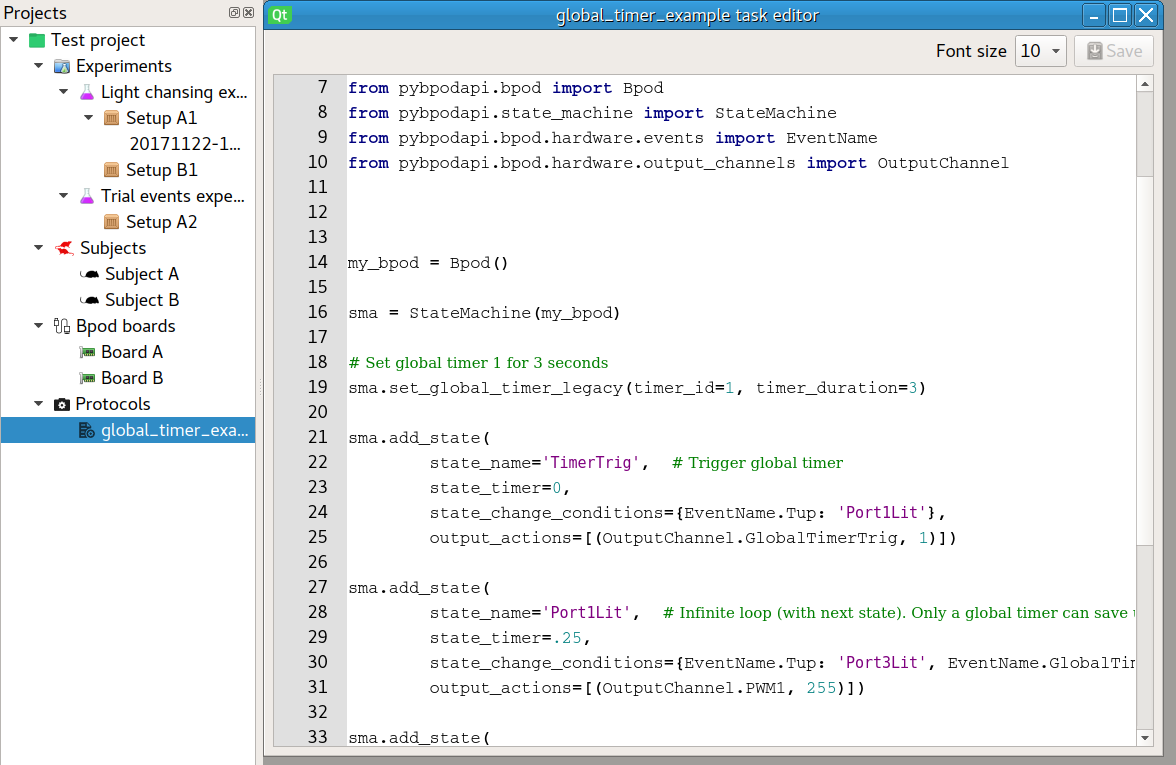
Protocols allow you to define how the state matrix works. They are fully written in Python but follow a similar syntax from the Bpod Matlab equivalents.
PyBpod GUI ships with a code editor with syntax highlight and you don’t have to hardcode the serial port or other settings. Let the GUI do the job for you and focus on your experiments!
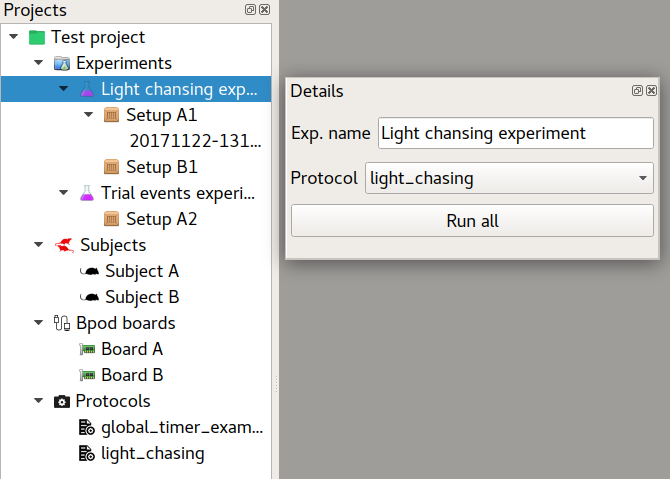
Experiments and experimental setups
The experiments node hold all your experiments important data. Each experiment, runs a protocol and has a list of experimental setups (you can also call it arenas), where one or more subjects can be placed to run execute the selected protocol. From each setup you should associate a corresponding Bpod board that will be responsibile for running your protocol.
The workflow goes like this:
Inside the project, add an experiment.
Assign a protocol to the experiment.
Inside the experiment, add several setups.
Assign a Bpod board to each of the setups.
Assign one or more subjects to each setup.
Run the experiment for one setup or run them all at the same time!
Sessions
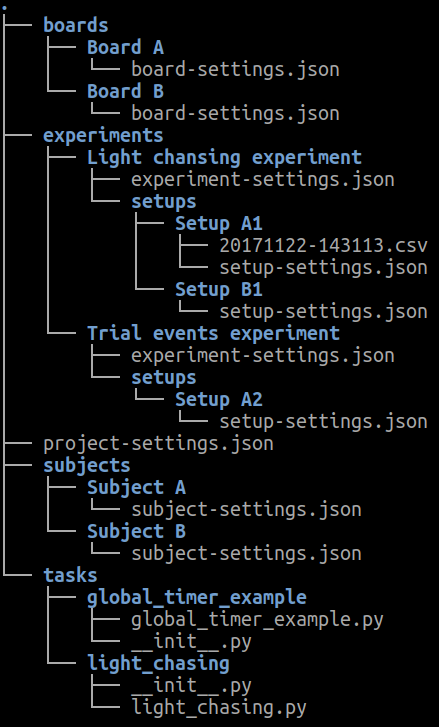
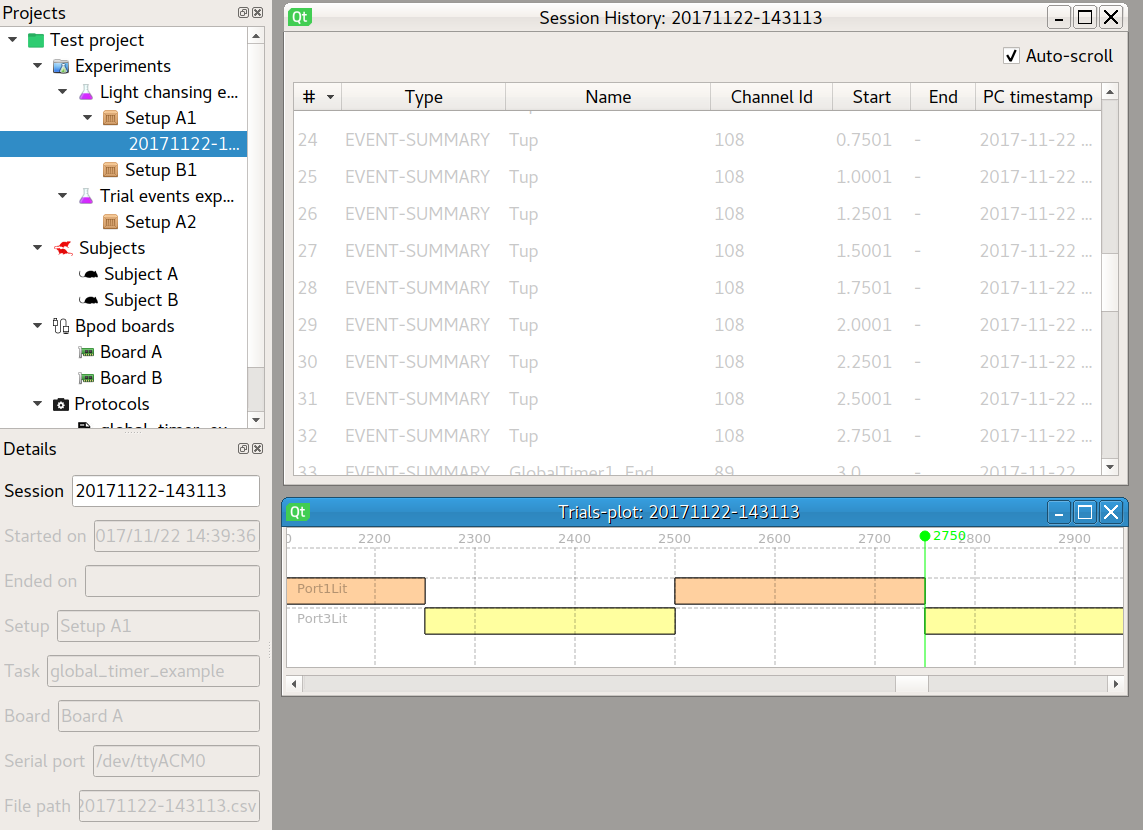
Each time you run a Bpod protocol on a setup a new session is created. The GUI collects the output from the PyBpod API and processes these events on a list (which we call session history). Besides being on memory, this history is automatically saved on a text file, so you never lose Bpod data.
If you navigate to your project on the filesystem, and locate the desired setp, you should find several files:
CSV and JSON are default outputs from the pybpod-api (for example, you can open CSV on excel and quickly produce some plots)
Plain text file is the output from the GUI
You can also develop plugins that enhance session data visualization and access them by right-clicking the desired session.
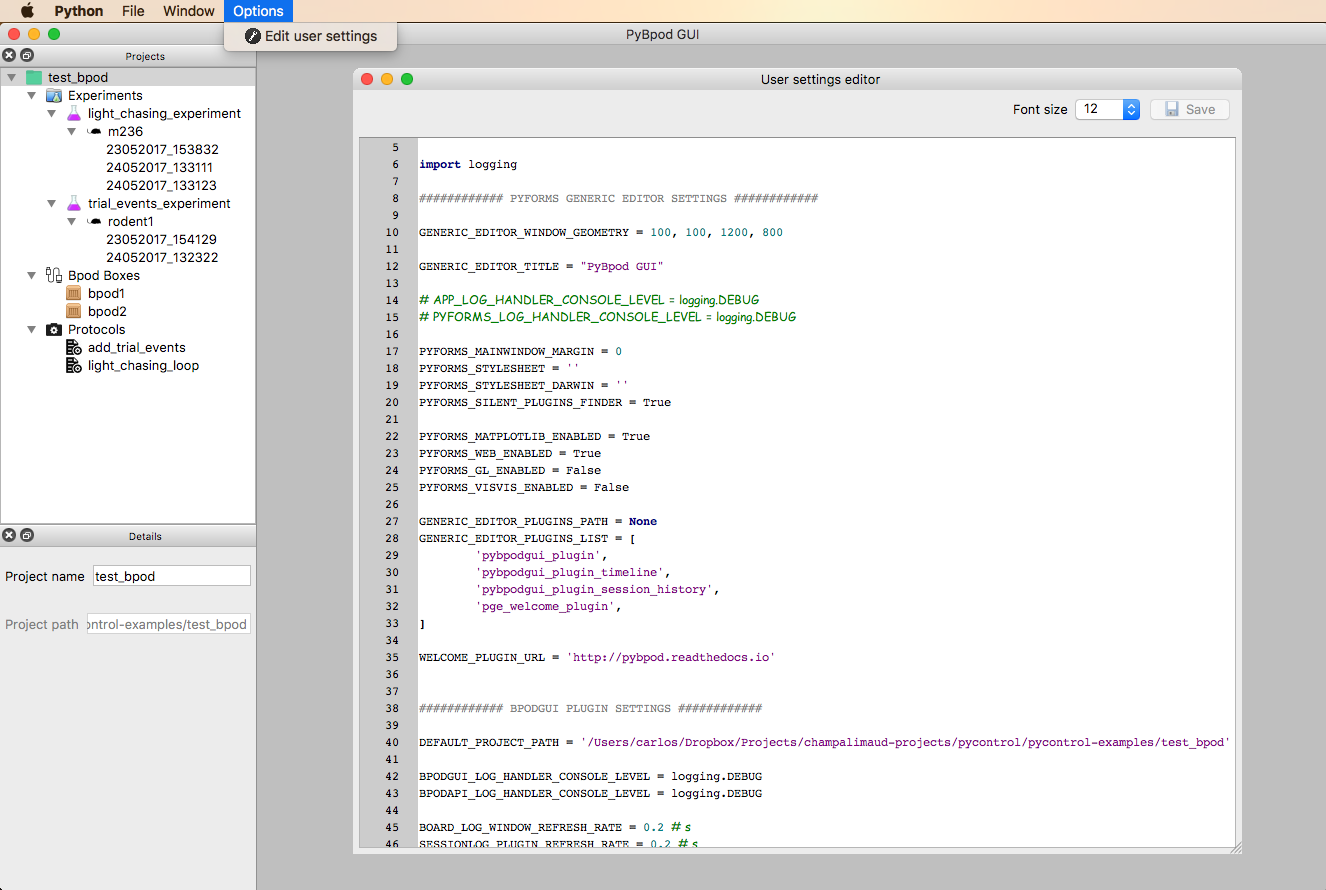
GUI User settings
You can edit user settings directly from the GUI. User settings enable you to tweak the GUI the way you like it. Example of parameters you may change are:
Loaded plugins
Default project path
Refresh time for console window
And much more…